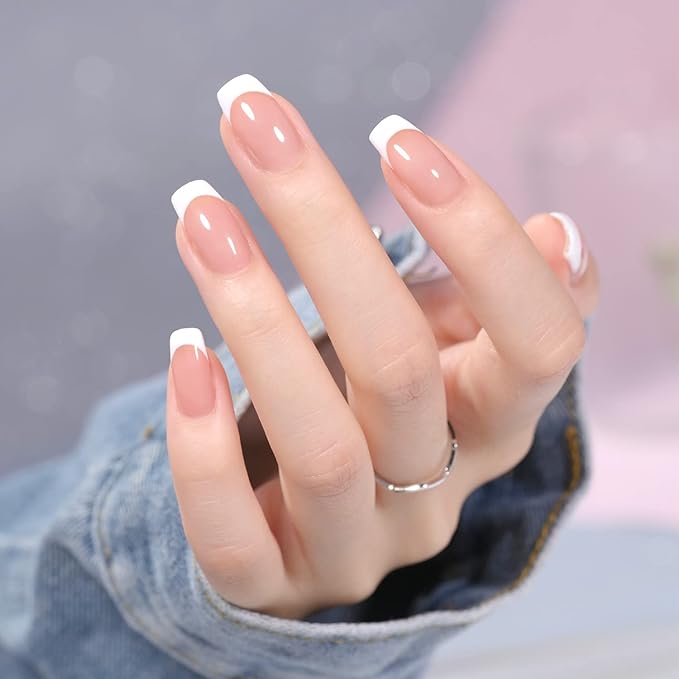
Achieving salon-quality nails at home has never been easier. With the right tools and techniques, you can have beautiful, professional-looking nails without the salon visit. Here’s a step-by-step guide to help you achieve stunning at-home nails this summer.
Step 1: Prep Your Nails
Proper nail prep is the foundation of a great manicure. Start by cleaning, trimming, and shaping your nails to get them ready for polish.
Product Recommendation: Use the Nail Prep Kit for all your nail preparation needs.
Step 2: Apply a Base Coat
A high-quality base coat is essential to protect your nails and ensure your polish lasts longer. It also prevents staining and smooths the nail surface.
Product Recommendation: Try the OPI Natural Nail Base Coat for a strong foundation.
Step 3: Choose Your Summer Color
Select a trending summer color to make your nails pop. Brights, pastels, and neons are popular choices for the season.
Product Recommendation: Check out Essie Summer Collection for the latest in trendy nail polishes.
Step 4: Nail Art and Decoration
Enhance your manicure with some nail art. Use stickers, decals, or freehand designs to add a unique touch to your nails.
Product Recommendation: Use the Nail Art Kit for endless design possibilities.
Step 5: Finish with a Top Coat
Seal your manicure with a top coat to add shine and durability. A good top coat can make your nails look professionally done and last longer.
Product Recommendation: The Sally Hansen Insta-Dri Top Coat is perfect for that salon-quality, long-lasting finish.
Step 6: Regular Maintenance
Maintain your manicure by keeping your nails and cuticles moisturized. Regular touch-ups and care will ensure your nails stay beautiful throughout the summer.
Product Recommendation: Keep CND SolarOil on hand for regular cuticle care and nourishment.
With these DIY tips, you can achieve salon-quality nails at home. Explore the linked products and enjoy professional-looking nails all summer long. Embrace the convenience and satisfaction of doing your own nails with confidence!


